What Will I Need?
INSERT TITLE HERE
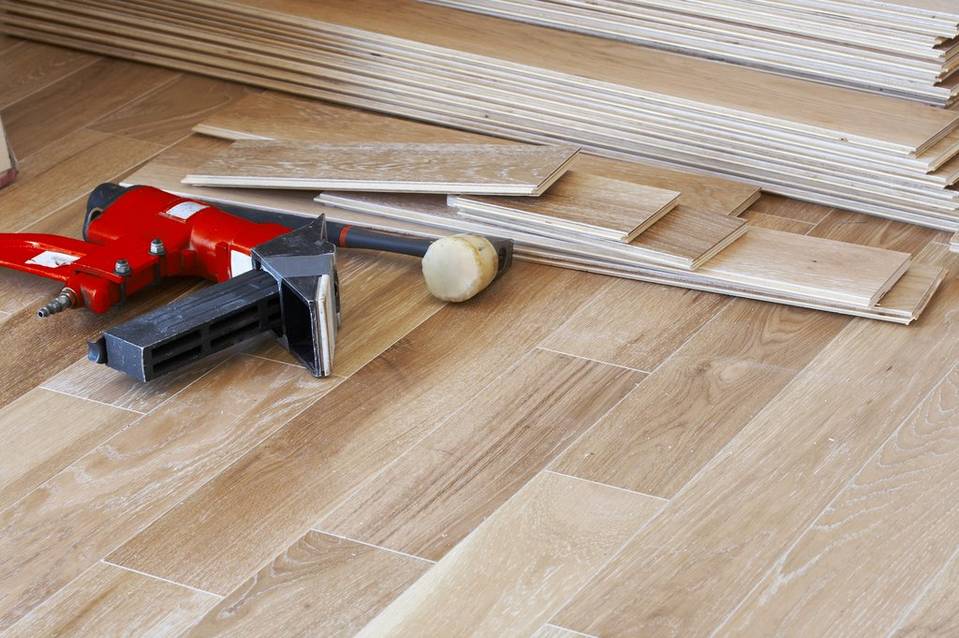
To install DuraLux flooring, you’ll need the following tools: a rubber mallet, 1/4” installation spacers, straight edge ruler, utility knife, tape measure, and a pencil.
You’ll want to have purchased 10% more square footage than is needed for any cutting waste. DuraLux flooring and all the tools you need are available at your local Floor & Decor.
Prep!
INSERT TITLE HERE
Start off by removing any existing quarter round or molding in the room. Before you get started, don’t forget to make sure the subfloor is dry and thoroughly cleaned.
Installation
INSERT TITLE HERE
NOTE: For a natural look, give your floor a higher variation of pattern by working out of multiple boxes at once.
Place the first board at the top of the left-most wall ensuring ¼” spacers are placed against the wall as an expansion gap.
Place your next plank into the easy locking system and use your mallet to tap the plank into place.

Along the line, use a utility knife and straight-edge to score the plank and snap downward for a clean split.
Now on to the next row. With a plank, at least 12” in length, click the long side of the plank into the previous row and tightly place it next to the short end of the previous plank with an angle of 30 degrees. Continue with the remainder of the room.
Use the rubber mallet to lock into place. If the last row needs to be cut, mark the size needed and cut along it, keeping it at least 2” wide.


Durable, Stylish, And Easy To Install And Maintain, DuraLux Is The Floor You’ve Been Searching For! Locate Your Local Floor & Décor For Free Laminate DIY Classes Every Saturday.
PROFESTIONAL FLOORING SUPPLIER
- Amsterdam office: Kuipersstraat 147/A7 1073 ER Amsterdam
- HCMC office : 19 Bach Dang street, Ward 2, Tan Binh district, HCM city, Viet Nam
- Showroom: 48 Phu Thuan street, Phu Thuan ward, District 7, HCMC, Viet Nam
- Website: floortec.vn; floortecfloor.com
- Email: infor@floortec.vn
- Viet Nam Hotline: +84 934.034.012
- Amsterdam Hotline: +31 646 46 26 68
Other posts
- How to choose floor for your home (01-04-2020)
- Rubber Flooring (02-06-2020)
- New Outdoor Looks (01-04-2020)
- 9 mighty woods for outdoor projects (02-06-2020)


